Icons on the Web are so beautiful and help us to give detail about anything without any problem. But for those who are not practical with graphics software like Photoshop it is difficult to create something decent. However, it is possible to rely on a tool like the one I present today that allows you to create custom icons through simple settings and starting from one of the many icons present all in Web 2.0 style. The tool I’m talking about can be used directly online without installing any programs. In addition, the service is completely free and you can use it without any limit.
So let’s see where to find this tool and how to use it to create icons for free without using programs .
Where to create free icons
The online service in question is at Iconizer.net and you can quickly reach it by clicking on the link in the following box:
Now that you know the link of the tool we pass to analyze its main characteristics.
How to create icons without programs
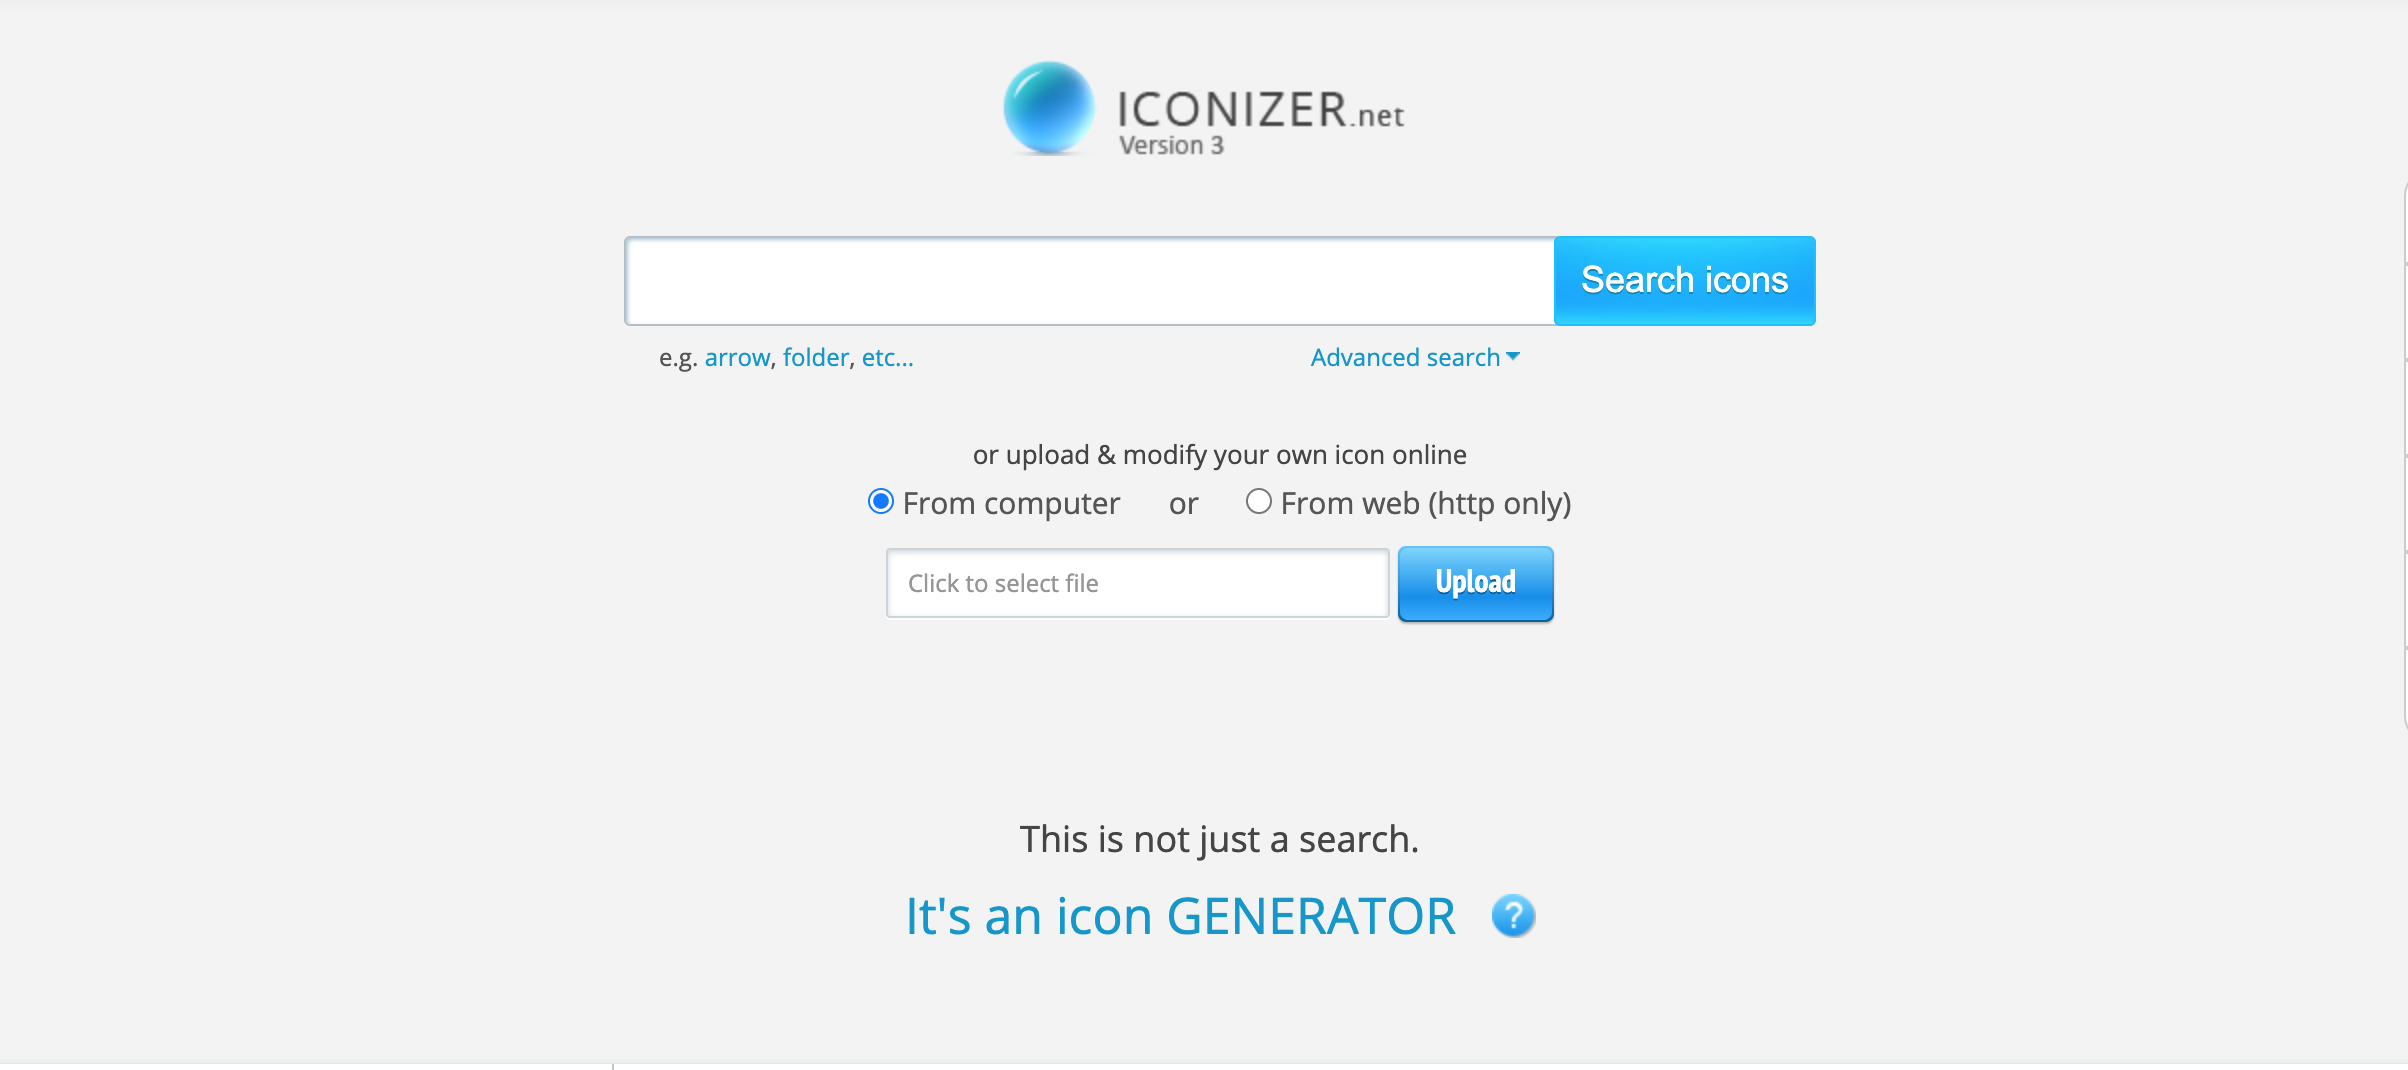
Here is the graphical interface of the tool to create the icons:
As you can see, the graphical interface even if in English is very simple and intuitive.
The first thing to do is to choose one of the categories according to the type of icon we need. Therefore we make our choice between:
- Actions
- Applications
- Communications
- Folders
- Hardware & Devices
- holydays
- Mimetypes
After that, choose the icon you prefer from those of the category you have chosen by clicking on the box corresponding to the Select Icon item.
Now you have to choose the type of image format with which you want to save the icon at the end of the creation. You can choose between GIF, JPEG, PNG, BMP and ICO. To do this, click on the box corresponding to the File type entry.
The following wording, Keep colors allows you to decide whether to keep the same colors of the icon you have chosen (selecting Yes) or use the colors (selecting No) that you can choose in the field indicated by the item Foreground color.
As for the background of the icon you can choose a color by selecting it in the Background color field or decide to use a transparent background by selecting Yes in the Trasparent Background entry.
The last thing to do is to choose the pixel dimensions of the icon by typing the value you prefer in the Icon size field.
Finally, click on the Generate Icon button to see the result of your creation appear on the top right and the Download button to download and save the icon on your PC.