Most new desktop and laptop computers are coming with UEFI technology, which replaces the old computer BIOS and brings benefits such as faster boot and a graphical user interface setup.
However, the way Windows is installed on UEFI-enabled computers is slightly different from traditional, since the hard disk uses the GUID partition table (GPT) and not the default MBR table.
In this article we will find out how to install Windows 7, Windows 8/8.1 and Windows 10 on UEFI technology computers, covering topics such as boot drive creation and hard drive preparation.

Requirements:
- At least 4GB flash drive
- Windows 7, Windows8/8.1, or Windows 10 64-bit ISO image file.
Note: If you have a Windows 7, Windows 8/8.1, or Windows 10 installation DVD, you can use the ImgBurn program to create a Windows ISO image file from your installation DVD.
How to install Windows 7/8/10 in UEFI mode:
1. Preparing the USB stick:
1.1. Download the Rufus program and run it
1.2. Under “Device”, select the drive corresponding to your USB stick.
1.3. Choose “GPT partition for UEFI computers” in “Partition type”.
1.4. Check “Create bootable disk”, click on the CD icon and select the Windows ISO file.
1.5. Click “Start” and wait for the files to be copied to the USB stick.
2. Starting Windows Setup:
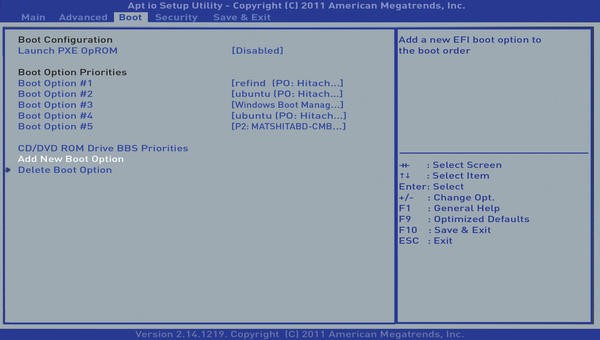
2.1. Boot the computer from the USB stick. You can set the “boot order” from the BIOS setup. In some cases you may also need to disable the “Secure Boot” option in the BIOS setup.
Also, make sure that UEFI mode is enabled in the BIOS of your notebook or computer so that it recognizes the bootable flash drive you created with the “UEFI GPT partition for computers”.
2.2. Once the screen below appears, press the “Shift + F10” keys to open Command Prompt.
2.3. Type the commands below by pressing “Enter” at the end of each command:
Diskpart (starts the disk partitioning function).
List Disk (displays the hard disks attached to the computer).
Select Disk X (where X is the disk number displayed in Prompt).
Clean (erases all partitions on the hard disk).
Convert GPT (converts the disk to GPT format, which is used by UEFI mode).
2.4. Close Command Prompt by clicking (X).
3. Continuing the installation of Windows:
Note: If you are installing Windows 8/10, continue the installation from step 3.1, but if you are installing Windows 7, you will need to restart the computer and continue the installation from step 3.1.
3.1. Click on “Install Now“
3.2. When you get to the screen below, select the “Custom” option.
3.3. Now click the “New” button in Windows 8/8.1/10 or “Drive Options> New” in Windows 7 and Windows will create 3 partitions on the hard drive. Select the primary type partition and click “Next“.
Note that in Windows 7 an alert in the bottom of the window will appear stating that “Windows can not be installed on the partition 3”. However, simply click “Next” to proceed with the installation.
Okay, now just proceed with the installation of Windows 7, Windows 8 or Windows 10.