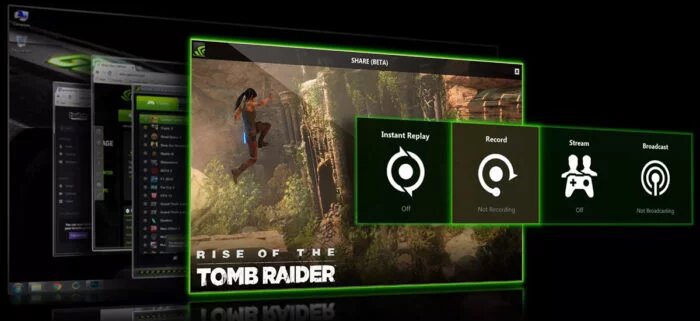
If you have a PC with an NVIDIA GeForce graphics card, you can use the Shadowplay feature within the GeForce Experience app to help you record some of the best moments of your game, as well as take screenshots. To do this, just have the app installed (and updated) and follow the step by step below.

This tutorial was done on a machine equipped with a GeForce RTX 2080, which allows you to record videos without the need for an extra capture card.
How to use Shadowplay to record gameplays
In addition to helping you capture and share high quality videos and images, Shadowplay also has a feature for live streaming. For this tutorial, we will focus only on how to record videos.
Come on:
- If you have not already installed, download and install GeForce Experience ;
- When you first open the app, you can leave keyboard shortcuts at the default setting or remap the keys as you like;
- This tutorial will follow the default shortcuts of the app itself;
- With GeForce Experience already installed, start some PC game;
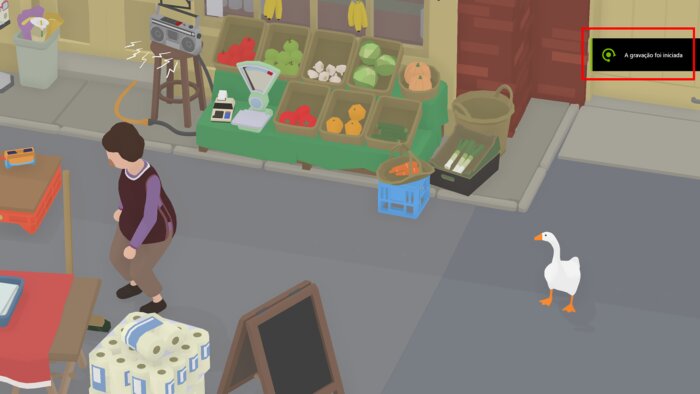
- At any time in the game, press ALT + F9 on the keyboard to start recording. You will receive an on-screen message indicating the start of capture (see image below);

- To end recording press the same key sequence as above.
Where to find recorded video (s)
To find the folder with the recorded videos do the following:
- Open the GeForce Experience app;
- In the upper right corner of the window that opens, click the share icon (next to your avatar and username);
- A large floating menu will appear. Select the “Gallery” option;
- You will now see all items (images and videos) you have saved. You can display them in this gallery or go to the source folder to save them elsewhere;
- To do this, click on “Open Local File”;
- In the next window you will have access to all files generated by the application. Now just move them wherever you want.
