Have you recently become an iPhone user? – Maybe you purchased the new iPhone 14 pro max or another version of the iPhone? iPhones are incredible phones that are continuously developing year in and year out, especially with their cameras. The new iPhone can shoot an impressive 48MB which is a huge upgrade from the model before and the models before that.
With so much power and potential, it’s important you learn how to use the camera to get the best out of it. Whether you are shooting with a new iPhone or using an older model, there are a few techniques that you can use to take photos like a pro. Below we dive more into these techniques to help you take the best photo possible.
Use the iPhone grid
Have you ever seen the grid function on your iPhone? It’s amazing and can really help you shoot a better photo than without it. When learning photography to become a professional you will be taught about the rule of thirds, this grid helps you achieve this. Essentially the rule of thirds works around positioning your shots into one of the thirds of the images. This can be the left or right third of an image, leaving the other thirds empty. It helps with creating a focal point and engaging the people viewing your image.
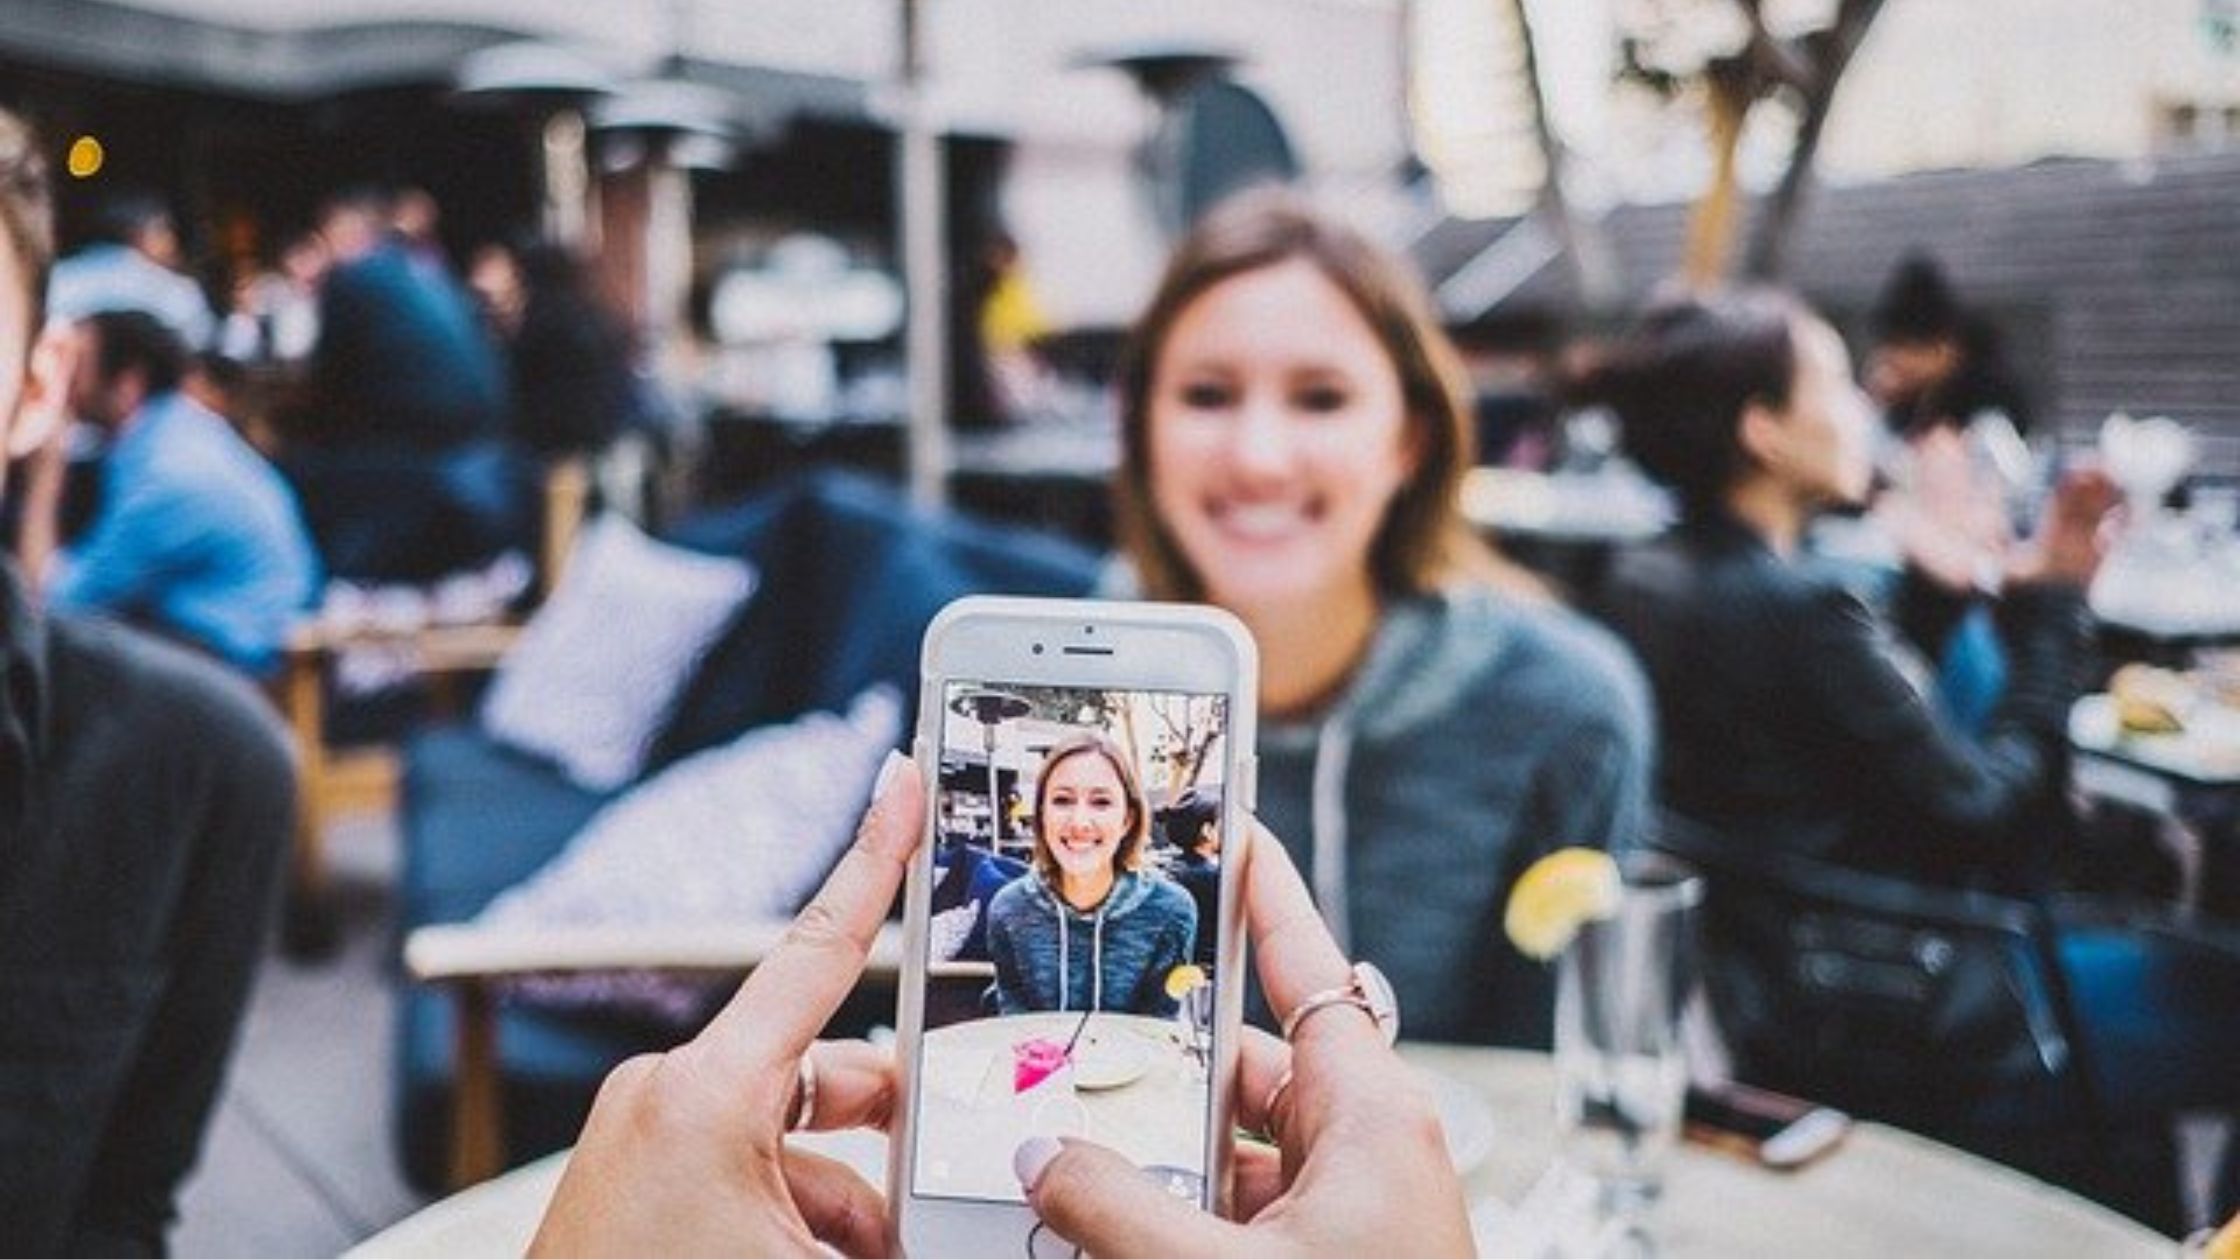
Use portrait mode when taking portraits
If you enjoy taking portrait photography or want to get into it, then the iPhone is perfect for that. If you look at the settings of your iPhone, you will see it has a dedicated portrait mode – use it over the standard camera. This photography mode has been specifically built to enhance the quality of your images when taking portraits. A lot of industry-standard settings will be applied to the camera settings to help you take a photo as a professional would.
Avoid overexposure
You will have heard it a lot, light is a photographer’s best friend and in most cases, it is, until the light is too bright. When taking photos with your iPhone, try to play with light and allow as much light into the lens as possible – but not too much at the same time. Too much light drowns out the photos, reducing the quality of the shot as well as how it looks when you are viewing it. When editing, you can add light quite easily but if something is overexposed, it’ s hard to remove it. A simple tip is to press the brightest part of your image on the screen when shooting, this way the iPhone will adapt the image to cater for the amount of light coming through the lens.
Shoot in raw
If your iPhone allows it, shoot in raw. Raw is what every professional photographer shoots in as it allows them more control of the images when editing them on professional software like Adobe Photoshop or Adobe Lightroom. The images may be larger in size, but that is because it’s storing all the information of the picture, allowing you to control it more in post-editing. If you are shooting on the new iPhone 14 Pro Max, you will notice it has a dedicated RAW mode which you can turn on in order to get the best shots out of its 48MB lens. BacklightBlog.com has a few tutorials that you can follow to help improve your photography skill in more depth.