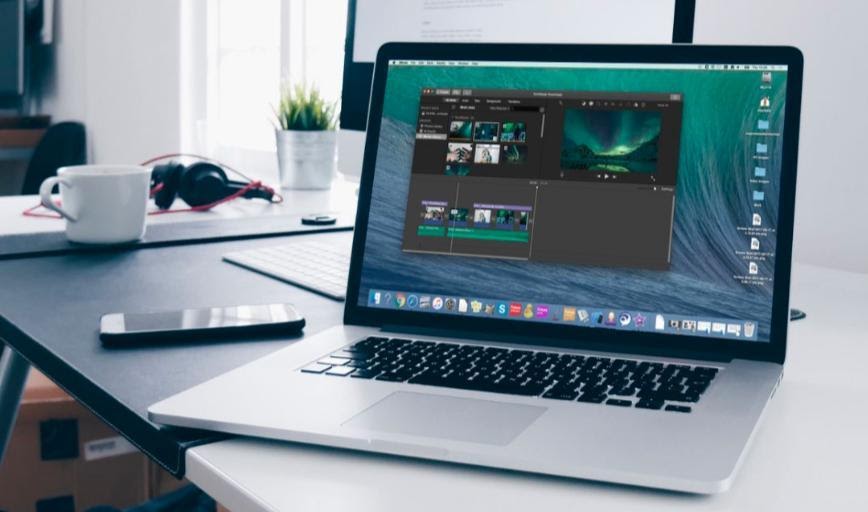
We Mac users use several photo editing apps or software to manipulate or enhance the image quality. Photo editing software allows us to make our photos stand out by applying filters or fixing contrast, exposure, color, and so on. In addition to using several photo editing apps, have you ever wondered if Mac has any built-in photo editing software?
Well, yes, it has. Mac has two different built-in photo editing software named Photos and Preview. Both of them offer free photo editing with plenty of professional photo editing tools. These two image editing apps are good enough to meet your photo editing needs, and through this context, we will explain both of them. So stay tuned.
Overview of Photos (The Built-in imaging editing software of Mac)
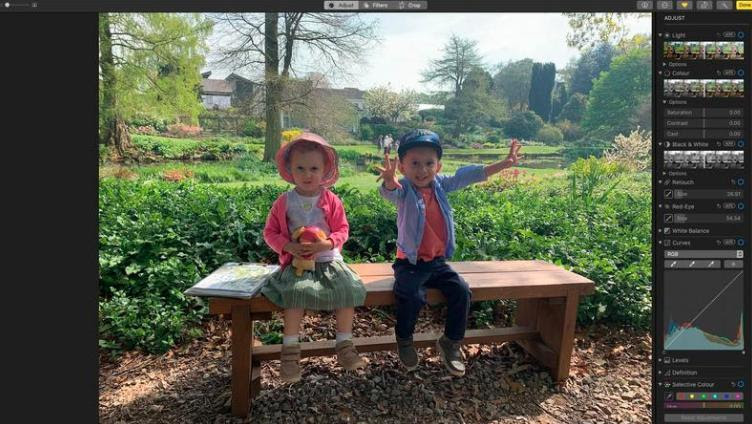
Many Mac users use Photos to store photos, but most of the users don’t know that it can be used as a photo editing tool. It is Mac’s built-in software that allows you to organize, edit, share, and do a variety of things with photos. Though you may use several photo editing apps like Lightroom, Photoshop, or Picsart for Mac, Photos will give you the same level of editing experience.
Here you will find a powerful set of photo editing and adjustment tools that will let you make easy and simple changes to your photos. To get the best framing, you can easily rotate or crop your image. Moreover, you’ll find many other options to make sophisticated adjustments to your photos.
What Types of Photo Edits You Can Do With Mac’s Photos
We have already mentioned that Photos is packed with amazing and basic editing features that will surely impress you. If you are wondering what types of photo editing tools you will find in the Photos, follow the below section. Here we have outlined things that you can do with Photos, have a look-
- Crop, Straighten, Rotate, and Flip
- Adjust Lighting and Exposure
- Retouch and Correct Red Eyes
- Make Photo Sharper and Reduce Noise
- Fix Color Balance
- Plenty of Photo Effects and Filters
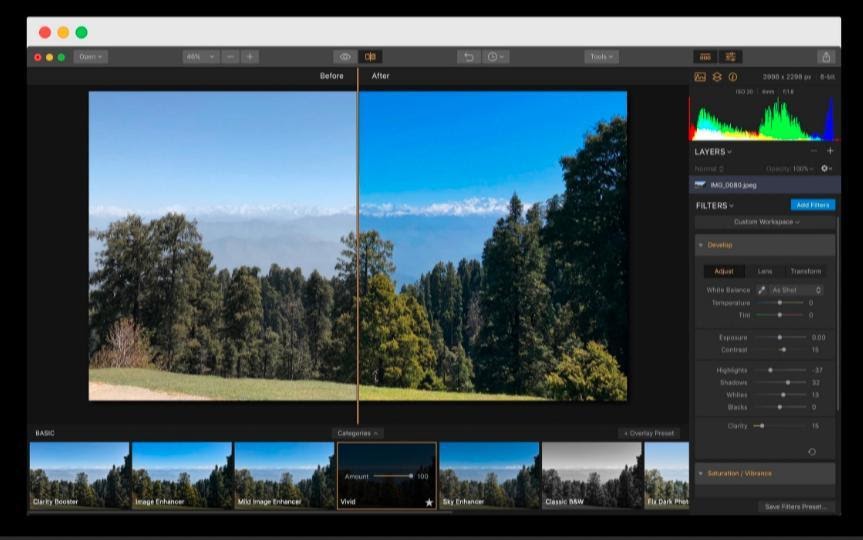
Overview of Preview (Secret Image Editor of Mac)
Basically, Preview is a PDF and image viewer tool of Mac, which you can also use as an image editor. Along with editing photos, Preview software will also let you edit the portable documents format file. It is also a default image editing tool packed with advanced tools to aid your photo editing activity.
Preview is free software that allows you to do some basic editing and refinement of your images at no cost. Moreover, it also supports photo formats like JPEG, HEIC, JPEG-2000, PDF, OpenEXR, PNG, and TIFF.
What Types of Preview Edits You Can Do With Mac’s Photos
You may want to know what photo editing software do Preview offers; nothing to worry about; we are here to help. Here we have included things that you can perform with Preview. Have a look-
- Rotate
- Crop
- Resize
- Annotate
- Adjust Color or Gamma
- Markup Toolbar
Preview offers many other effective photo editing tools that you can explore while using it.
How to Use Mac’s Built-in Image Editor?
Since you know that Mac comes with two different built-in photo editing software, it’s good to know about both of them. For your convenience, we are going to show you how to edit photos with both Photos and Preview. Follow the below section to get reliable guidance.
- How to Use Mac’s Built-in Image Editor – Photos?
Several advanced photo editing apps are pretty popular among creative professionals. Instead of using any paid software, you can use Mac’s built-in Photos software, which might paint a nice picture for you. If you intend to know the initial editing process, follow the instructions below.
Step – 1 First, open the Photos app from your Mac and then double-click on a photo thumbnail.
Step – 2 After that, click on the Edit from the toolbar. Here you will find many editing features, including Zoom, Filters, Adjust, Rotate, Crop, and Automatic Enhancement. We will show all of them using the procedure; keep following the below steps.
- Simply drag or click the zoom slider to zoom your photo.
- Tap on the Adjust option to access the adjustment tools and adjust photos’ light, exposure, and other things based on your preference.
- Click on the filter option to apply it to your photo. The filters will help to change the appearance of your photo.
- You can use the crop option to crop or straighten your photo.
- You can rotate the photo by tapping on the rotate option from the toolbar. Here you can be able to rotate your photo in any direction you want.
- Once you are done editing your photo, tap the “Done” option to complete the procedure.
Moreover, the Photos software will also let you duplicate a photo, copy and paste adjustments and compare photos before and after editing.
- How to Use Mac’s Default Image Editor – Preview?
You can use the Preview software to edit your photo with high-definition. Since you can view PDFs as well as edit a picture with the preview app, you need proper guidance. In that case, follow the below section to know some basic tips.
Step – 1 First, double-click on your photo to open it. Or right-click on it and then tap on open with and select the Preview from the submenu option.
Step – 2 Then tap on the show markup toolbar icon from the upper-right corner. Here you will see all the editing tools of Mac’s built-in Preview app.
The Preview app will let you crop, rotate, add text, remove background, combine images, and save them in different formats. We are going to show you how to use these editing tools; just follow the below-described steps.
- To Crop an Image: Open the image and select the area you want to crop. Once you select the cropping area, now click on the crop from the Markup Toolbar.
- To Rotate an Image: Open the image and click on tools from the top to choose your preferred retention direction. The rotate button will help you to the direction of your photo.
- Add Text on Image: First, insert the text frame from the markup toolbar and then click on the inside of the frame. Here type a text or caption and click on the text style to change the font, color, size, and many more.
- To Remove the Background: First, select the instant alpha from the Markup Toolbar and click the area you want to remove. Drag the mouse to the area you want to remove and then press delete without releasing the mouse.
- Combine Images into One: First, open both images together and then select the first photo to remove its background. Remove the background through the Instant alpha tool, select the remaining objects, copy them, and paste them on the second image. You can easily drag the pasted item to reshape or resize it.
- Save the Image: Once you are done editing your photo, you can now save the edited file in a different file format. Tap on File from the menu and select the destination folder from the Format.
Conclusion
Since you know how to use Mac’s built-in photo editors, you can now edit your photos without using any advanced photo editors. Both photos and preview is packed with all the tools that a casual or professional photographer might need. These two software will let you perform photo editing without spending a penny. When you can edit the photo size, orientation, dimensions, exposure, and color of your photo, what else do you need from an editor? Today, try out one of these default photo editing software from your Mac, and the result will surely impress you.