Do you want to disable Java update noti
fications when you turn on your computer? In this tutorial I’ll explain how to do it.
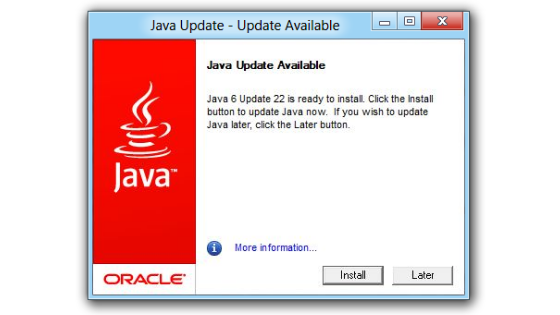
Why do these notifications
arrive? When you turn on your computer, the Windows operating system automatically runs the Java Auto Updater program. It is this software that notifies you to notify you that a Java update is available for installation.
Fortunately, there is a way to disable update notifications without uninstalling Java.
How to disable Java notifications with Windows 7
- If you use a computer with Microsoft Windows 7, Vista or XP, try the following steps.
- Click on Start at the bottom left or press the button with the Windows symbol on the keyboard.
- Then type msconfig in the Search programs and files field.
- Note. If you have Windows Vista select the item Run on the Start menu, type msconfig in the box and send.
- Now click on msconfig in the results list.
What is msconfig used for? The msconfig command allows you to change the system configuration and tell the operating system which software you want to load when the computer is turned on.
- The system configuration window opens.
- In the upper men
u there are several items (General, Start Options, Services, Start, Tools). - In this case you have to select the Start (or Startup) tab.
- The list of the software executed automatically when the computer is turned on appears.
- To disable the Java update, remove the check next to Java (TM) Platform Updater.
- Then click on Apply and Ok to confirm the choice.
You have disabled the Java update.
Now you should no longer receive other notifications from Java when you turn on your PC.
How to disable Java notifications with Windows 10
If you are using a PC with the Windows 10 (or Windows 8) operating system follow these instructions.
- Click on the Start button at the bottom left.
- Now enter management activities in the search field.
- Then click on the task management item in the App section in the results list.
- The task management window opens.
- Now click on the Startup section in the top menu.
- On the next screen you can see all the programs that Windows runs automatically every time you t
best online pharmacy with fast delivery buy cephalexin no prescription with the lowest prices today in the USA
urn on your computer.
- To disable Java notifications, select Java Auto Updater.
- Then click on the Disable button at the bottom right.
Deactivation is immediate.
The status
Disabled is displayed next to the Java Auto Updater entry.
You can click on the X in the upper right corner to exit the activity management.
The next time you turn on your computer, you should no longer see Java update notifications.
To write this tutorial I used personal computers with the Windows 7, Windows 8 and Windows 10 operating system. If you use a PC running Microsoft Windows Vista or XP, the steps for disabling Java notifications are similar to Windows7
.
If this guide from Teknologya helped you, share it with your friends on social networks.
Thank you for visiting our website.