Do you have an old notebook leaning against it and don’t know what to do with it? If your device can no longer handle Windows 10 and you have no interest in Linux, you can choose a third way: turn it into a Chromebook.
Although Google will not make Chrome OS downloads available to users, you can install community-developed versions of the system.
What version of Chrome OS to use?
The Chrome OS installer is not officially distributed by Google to the end-user, while Chromium OS, the open source version for use by the community, is intended for developers, so it is not distributed already compiled. On the other hand, there are two ready-to-use versions, where you just have to download the image, burn it to a USB st
ick and install it.
Let’s get to know each one of them.
1. CloudReady
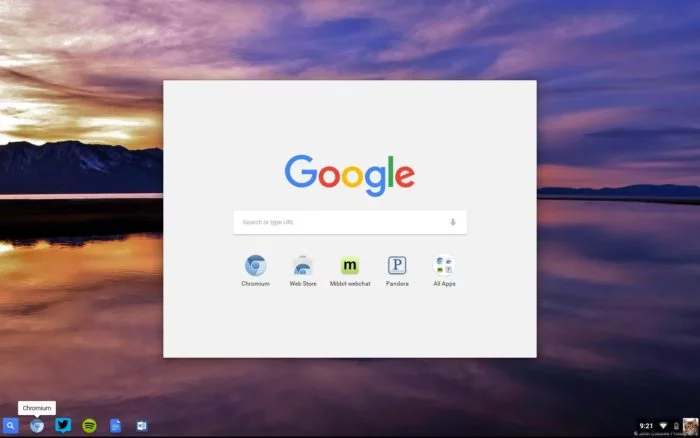
CloudReady ( neverware.com ) is the easiest version of Chrome OS to use and install on your computer, and is best suited for novice users. It has paid academic and corporate versions, with robust support that enables it as a system for business use. The home version is free and can be installed on many laptop configurations as long as they do not use ARM processors, which it does not support.
2. FydeOS
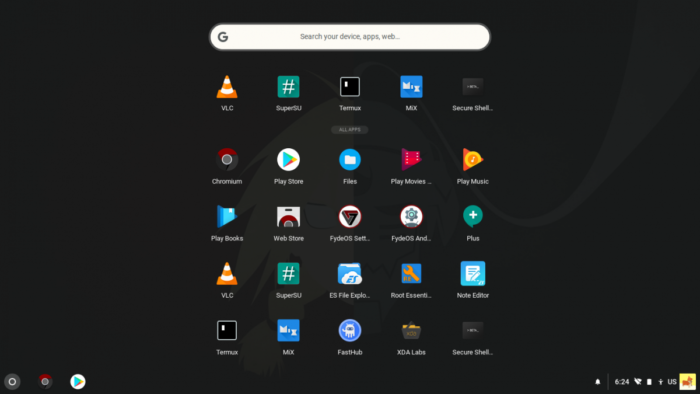
FydeOS ( fydeos.com ) is a Chinese fork of CloudReady, formerly known as Flint OS. It supports installing Andr
oid apps via .apk files, but does not have official Google support, so some apps like Google Play Store, Chrome, and others may not run. It doesn’t have such robust support, but it has custom versions for Raspberry Pi and ASUS Tinker Board (which don’t run Android apps, however) and for virtualization with VMWare.
How to turn old notebook into Chromebook
To install either version, you will need:
- The CloudReady or FydeOS ISO image;
- A thumb drive of at least 16 GB of space;
- Etcher, a program to record the image on the flash drive.
Here’s how to install each one:
1. CloudReady
- Go to neverware.com and download the CloudReady image according to your 32 or 64 bit processor version;
- Go to balena.io, download and install Etcher (Windows, macOS and Linux) on your computer;
- Connect the flash drive to the computer and open Etcher;
- Click on “Select Image” and point to the system image;
- The program will automatically detect the attached USB stick.
Click “Change” on the second item if it points to the wrong drive and selects the correct one;
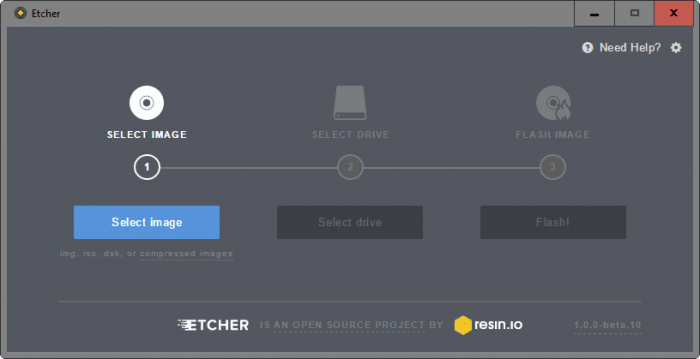
- Click on “Flash” and Etcher will install the image from the USB stick;
- Finished the process disconnect the USB stick and plug it into the old notebook;
- Turn on the laptop and enter the BIOS menu.
Depending on the motherboard manufacturer, you will have to press the “Delete”, “F2”, “F1”, “F10”, “Ctrl + Alt + Esc”, “Ctrl + Alt + S” or any other keys; - Access the boot option and change the order of the boot drives by placing the removable device option (USB stick, memory card) as the first;
- Save changes and exit the BIOS by restarting the laptop;
- CloudReady will be loaded from the USB stick;
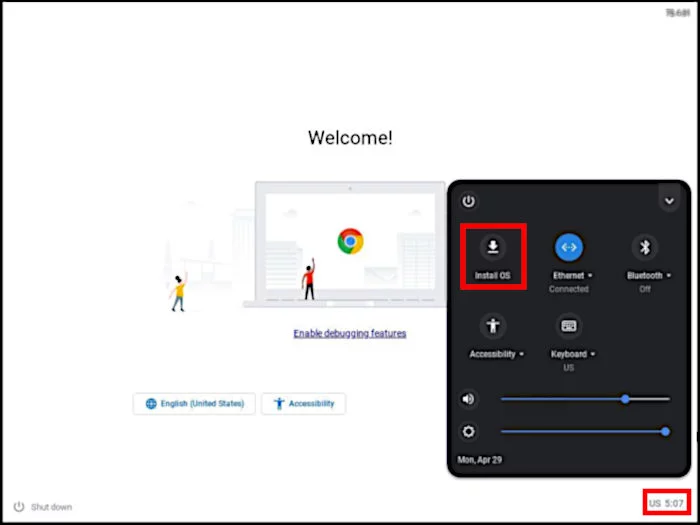
- Right-click on the clock and then “Install OS”;
- Click on “Install CloudReady” and then “Erase disk & Install CloudReady;
- At the end of the installation, restart the PC and remove the USB stick.
2. FydeOS
- Perform steps 1 through 11 of the CloudReady installation process, but using the FydeOS image you downloaded from fydeos.com;
- Hit the “Ctrl + Alt + F2” keys to open Terminal;
- FydeOS will prompt username and password, type “chronos” for both and hit “Enter” after each;
- Type “lsblk” and hit “Enter” to see a list of your computer’s disk drives.
Normally, the main disk will be labeled as “sda”, while others (like the USB stick) may use “sbd” and etc .;
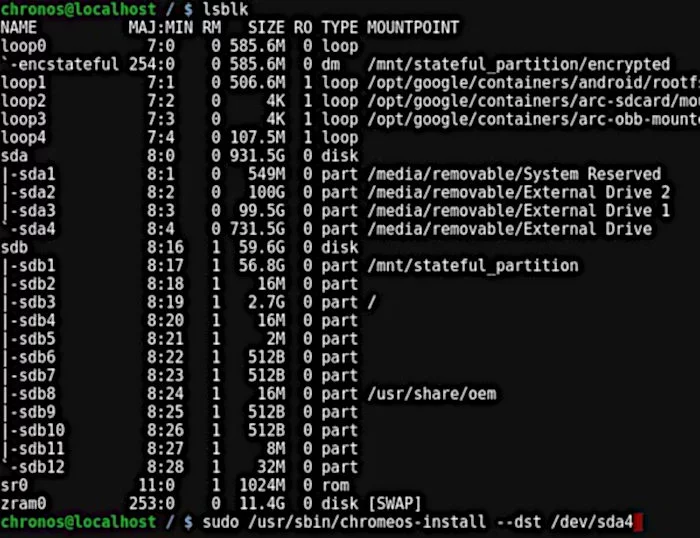
- Type the command “sudo /usr/sbin/chromeos-install –dst /dev/xxx”, replacing “xxx” with the drive where you want to install FydeOS;
- Hit “Enter,” type “Y” when the system prompts you for certainty, and hit “Enter” again;
- At the end of the installation, restart the PC and remove the USB stick.