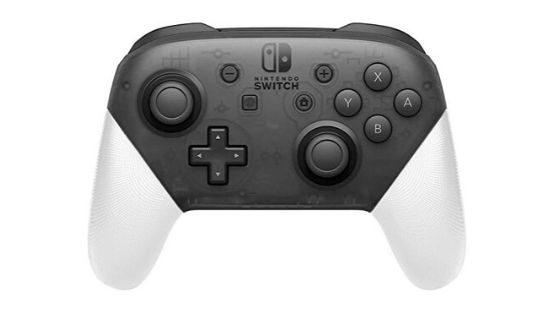
Since the release of the Nintendo Switch, the Pro Controller has always been at the top of the recommended list of video game accessories. And really, it’s much more comfortable to play on this controller than the Joy-Cons attached to the grip when you have the console on your TV. See how to connect your new Pro Controller.

Pair Pro Controller on Switch
The simplest way to pair the controller with the video game is to connect the Pro Controller via cable to the switch. As can be done with Joy-Cons connected on the sides.
However, the switch must be in the dock in TV mode. By plugging the USB cable into the controller and then on one side of the dock, the connection will be automatic.
The second way to pair the control is as follows:
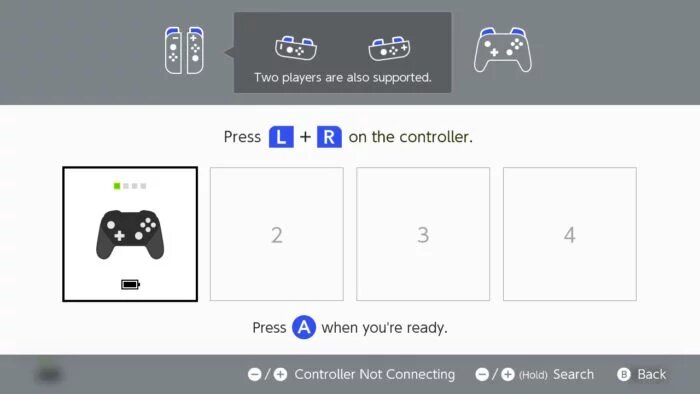
- On the home screen, access the controls settings;
- Select the first item “Change Grip/Order”;
- On this screen hold the Pro Controller pairing button (next to the USB socket on top of the accessory) until the “Paired” message appears on the Switch.

Ready.
Once the Pro Controller or Joy-Cons have been paired with the Switch, next time the connection will be automatic, no need to repeat these configuration steps.
Tip: This is also where you can toggle the order of controls – set which will be the first, second, third and fourth. To do this, you need to connect them in order.
How many controls can I connect to the switch?
You can connect up to eight controllers with each Nintendo Switch – if you need to bring the whole class together to play Super Smash Bros. Ultimate, for example.
But it is important to note that each pair of Joy-Cons counts as two controls, even if used with the single player grip. Otherwise, Pro Controller counts only as a connected control.
To exemplify:
- Four people can play with four pairs of Joy-Cons (no grip);
- Eight people can play with one Joy-Con each;
- Eight people can play with eight Pro Controllers.
When Joy-Cons are connected to the Switch, they do not take up space on paired devices.

