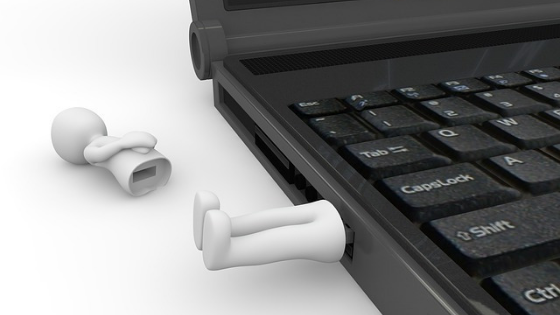
If you’ve always worried about Microsoft warnings – or ignored them altogether – about how to safely remove a Pen drive, those days are over. That’s because all the advice on the importance of safely ejecting a USB flash drive is not worth for newer versions of Windows 10. Who is saying is Microsoft itself and you can just pull the drive (gently, of course).
The Windows 10 has a feature called “quick removal” that lets you remove the flash drive from the machine at any time (provided it is not writing files on it), and now this is the default setting for the 1809 version Basically, “quick removal” prevents your computer from continuing to try to write data to a flash drive, which can help you quickly disconnect it.

“Windows defines two major policies, fast removal and improved performance, which control how the system interacts with external storage devices such as USB drives or Thunderbolt-enabled external disks. Starting with Windows 10 version 1809, the default policy is quick removal”, says support text.
But you can change the policy setting for each external device, and the one you set remains in effect if you disconnect and reconnect to the same port on the computer. We’ll also explain how you can do it quickly.
What’s the difference?
Quick Removal: This option manages storage operations in a way that keeps the device ready to remove at any time. You can remove the device without using the “Safely Remove Hardware” process. However, to do this, Windows can not cache the disk write operations. This may impair performance.
Better performance: This option manages storage operations in a way that improves system performance. When in effect, Windows can cache write operations to the external device and you must use the “Safely Remove Hardware” process. The Safely Remove process protects the integrity of the data on the device, making sure that all cached data has completed operation.
What you need to know is that Microsoft changed the rule in October, when the 1809 version started to launch in Fast Ring mode. The company is now notifying IT professionals that the update is being deployed.
It is also true that Microsoft has been sending mixed messages about the need to safely remove drives and the operating system still retains the feature. The difference is that now the process of safely removing the pendrive has stayed in the past. And you can definitely relax with that.
How to Switch Between Quick Removal and Best Performance
Forget the Microsoft support tutorial, let’s take the quick steps.
- Connect the pendrive to the computer;
- Select the “File Explorer”;
- Identify the letter of the USB drive and open it;
Or, double-click the shortcut that will appear in the dekstop. - Right click on the name of the Flash drive and on “Properties”;
- Inside, on the “Hardware” tab, select the thumb drive again and “Properties”;
- Under “General,” click “Change Settings”;
- Select “Policies” and then select the one you want to use.
You may rightly not want to have this whole headache. But it’s good to know that the “safely remove” time has passed and you can boot the pen drive without fear.
Remember that quick removal only became standard in Windows 10 and from version 1809 onwards. Before that, the default was still the best performance option and the safe drive removal notifications made some sense at the time.
