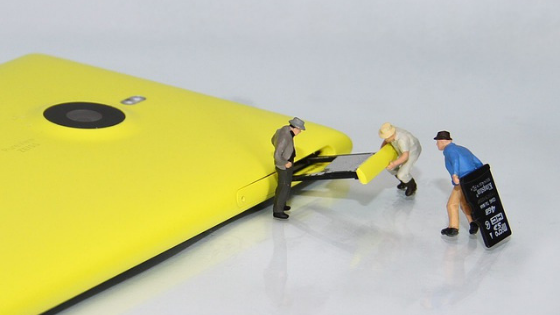
You can turn an SD card into your Android phone’s internal memory so that it can be used as an extension of standard space rather than as a separate unit. The process is quite simple as long as the option is enabled.

How to turn an SD card into internal memory
The feature to unify the internal memory space of the mobile phone and that of a microSD card was introduced in Android 6.0 Marshmallow. Therefore, your smartphone must run this version or later.
With everything in hand, let’s turn the SD card into internal memory.
- Open the Settings app and tap “Storage”, Storage and USB” or equivalent (varies by manufacturer);
- Tap on “SD Card”;
- Tap “Options” (the three dots) and then “Settings”, “Settings and Storage” or corresponding;
- Tap “Format as internal” and then “Clear and format”, “Format SD card” or the corresponding option.
And ready.
Doing so will turn your SD card into an extension of your Android phone’s internal space, storing both files and apps.
To reuse the SD card as a separate memory, do the following:
- Open the Settings app and tap “Storage”, Storage and USB or equivalent (varies by manufacturer);
- Tap on “SD Card”;
- Tap on “Options” (the three dots) and then “Settings”;
- Tap “Format as portable” and then “Format.”
And ready.
The option does not appear, now what?
Many manufacturers hide the SD card formatting option as internal memory, but it is still possible to use it. For this you will need a Windows 10 computer and the ADB and Fastboot package, tools also used to install other ROMs on the Android phone such as LineageOS.
First, you will need to enable USB debugging on your Android phone:
- Open the Settings app and tap “About Phone”;
- Tap on “Software Info”;
- Tap “Build Number” several times (varies by manufacturer) until the phone tells you that you are now a developer;
- Return to the main Settings screen and tap “Developer/Developer Options”;
On some devices, the option is within the “System” menu; - Turn on the USB Debugging switch and confirm.
That done, it’s time to force Android to display the formatting option as internal memory:
- Go to developer.android.com and download the package with ADB and Fastboot;
- Extract the package to the root folder of your computer;
To make the process easier, rename the folder “platform-tools” to “adb”; - Connect your Android phone to the computer;
- Type “cmd” (without quotes) into the Windows 10 search field and hit “Enter”;
- At the Command Prompt, type “cd \adb” (without quotes) and hit “Enter”;
- To confirm that the phone has been recognized, type “adb devices” (without quotes) and hit “Enter.”
The prompt should return a message with the word “device” and a number indicating that it has recognized the device; - Type “adb shell” (without quotes) and hit “Enter”;
- Type “sm set-force-adoptable true” (without quotes) and hit “Enter”;
- Type “exit” (without quotes) and hit “Enter” to close adb.
Following these steps, you can now disconnect your phone from your computer and perform the procedure, as the option to format the SD card as internal memory will be available permanently.