The Windows did not detect any network hardware? Sometimes, depending on the programs installed, on your computer, a bad configuration can cause your network hardware, both Wi-Fi and cable, and even Bluetooth, to stop working, causing your device to be unable to connect to the network, or to wireless
devices.
Fortunately, you can solve this problem, even if it is not very simple.
Windows has not detected any network hardware
The Windows may have problems with network hardware drivers, usually if the user has set up a VPN and changed the computer’s operating parameters. Either way, you can take some steps to solve the problem.
1. Reconfiguring the VPN
- Open the VPN program installed on your computer;
- Access the system settings, and verify that the program is configured correctly;
- Otherwise, change the settings so that the program works without conflicts;
- Restart the computer if necessary.
If you use the Windows 10 VPN feature, a good tip is to remove the configured connection, and create a new one. In the latter case, it may be necessary to completely remove the VPN program, and/or disable the Windows 10 native option, and switch to using the default network connection.
2. Changing the Windows Registry
In some cases, a fix in the Windows registry may be sufficient to resolve conflicts with your network hardware. However, this is an extreme option, and before proceeding, back up the data on your computer.
It is also recommended to create a Windows restore poin
t in case something goes wrong.
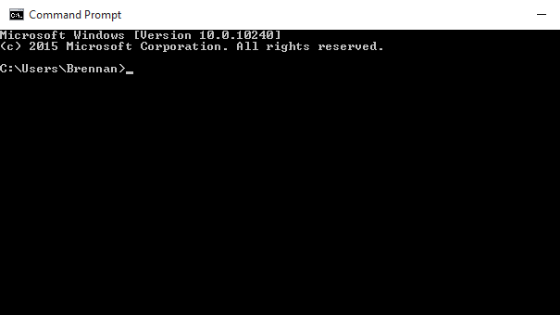
- On the Windows 10 Search Bar, type Command Prompt, right-click the option, and then click Run as administrator. Confirm.
In earlier versions of Windows (or even in Windows 10), type Win + R, type cmd, right-click the Command Prompt, and then click Run as administrator. Confirm; - Type the command “reg delete HKCRCLSID{988248f3-a1ad-49bf-9170-676cbbc36ba3} /va /f” (without the quotation marks) and hit Enter;
- Enter the command “netcfg -v -u dni_dne” (without the quotation marks) and hit Enter;
- Enter the command “exit” (without the quotation marks) and press Enter;
- Restart Windows.
Windows should resume from startup with network devices running. Otherwise, use System Restore and return Windows to its previous state.
3. Restoring Windows
It is extremely advisable to enable Windows System Restore, primarily to correct problems with installing problematic programs. Thus, you can return the operating system to a point before installing the VPN program, and leave it as it was before, running normally.
To enable the feature in Windows 10, do the following:
- Open the File Explorer;
- Right-click on this computer, and then click Properties ;
- Click System Protection;
- Click the System Protection tab, and then click Configure;
- Select the Enable system protection option, and under Max usage, set the dedicated disk space for creating the restore images.
To restore the system, do the following:
- Go to the Control Panel ;
- Search for Recovery;
- Select Recovery, then open System Restore and, finally, Next;
- Choose the restore point related to the problem application or driver and select Next, then Finish.
And ready.
Finally, it is very important to keep Windows up to date with the latest drivers installed. So remember to use Windows Update frequently, or configure it to receive and install updates automatically.